

Create a React app
Create a new React app using any method you prefer.
Grab your Velt API Key
Go to console.velt.dev and grab your Velt API Key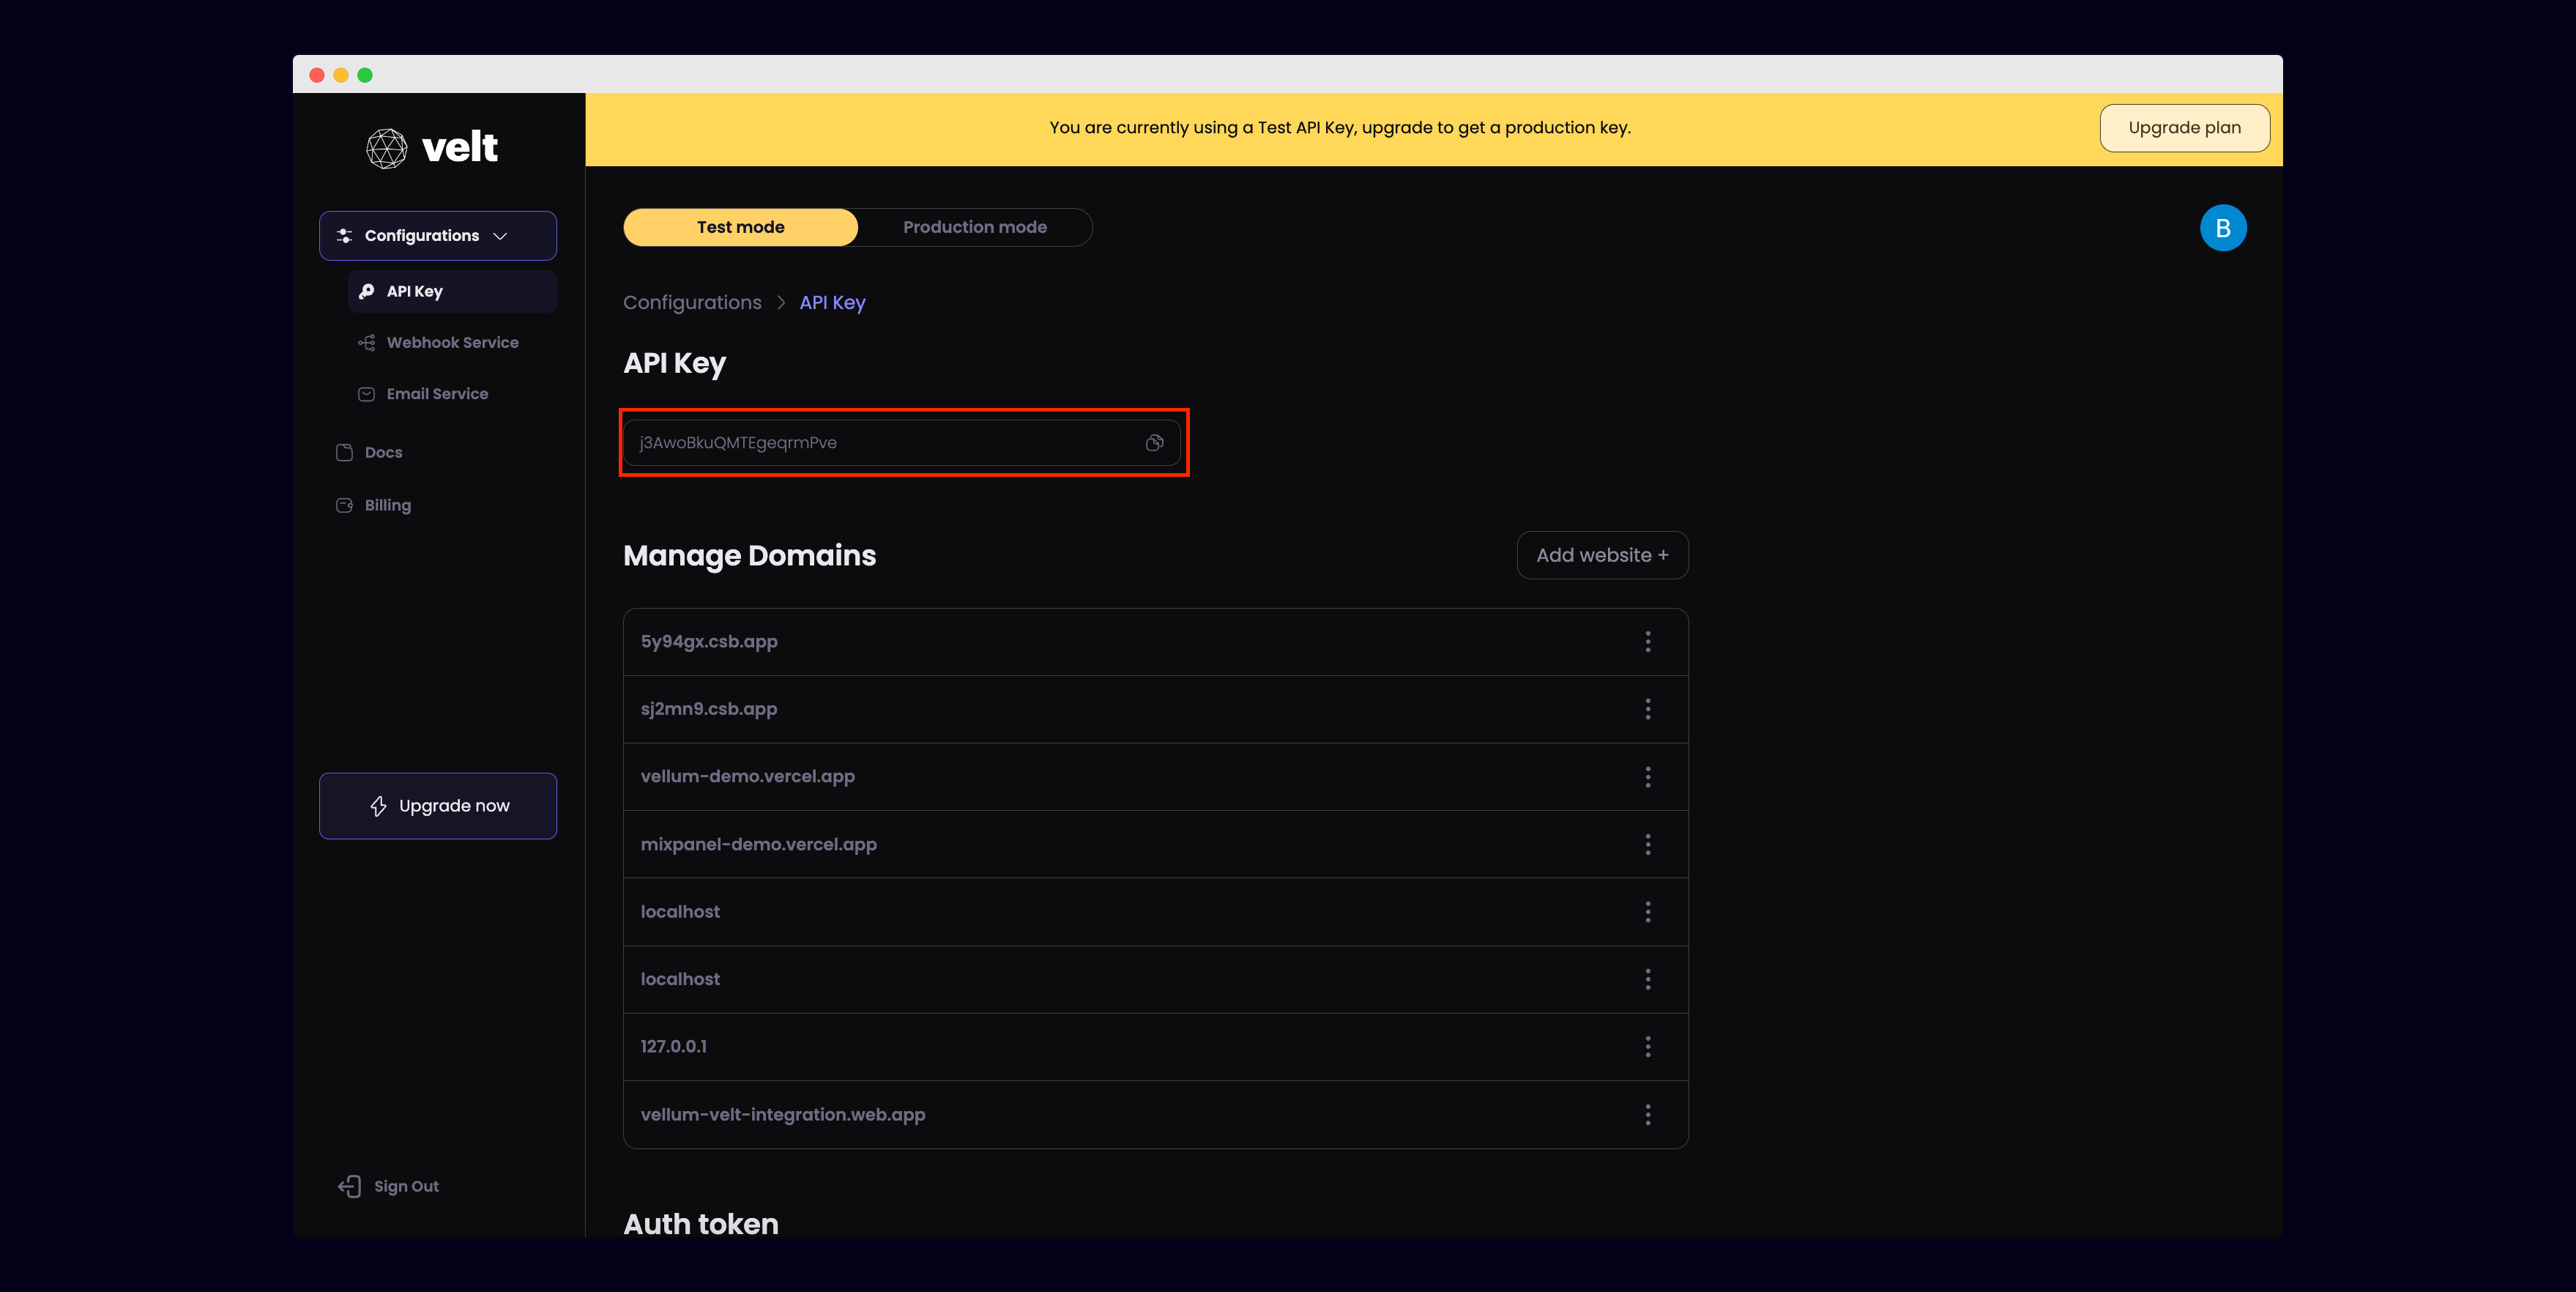
Safelist your domain
In the Velt console, add the URL where your app is deployed to the list of Managed Domains.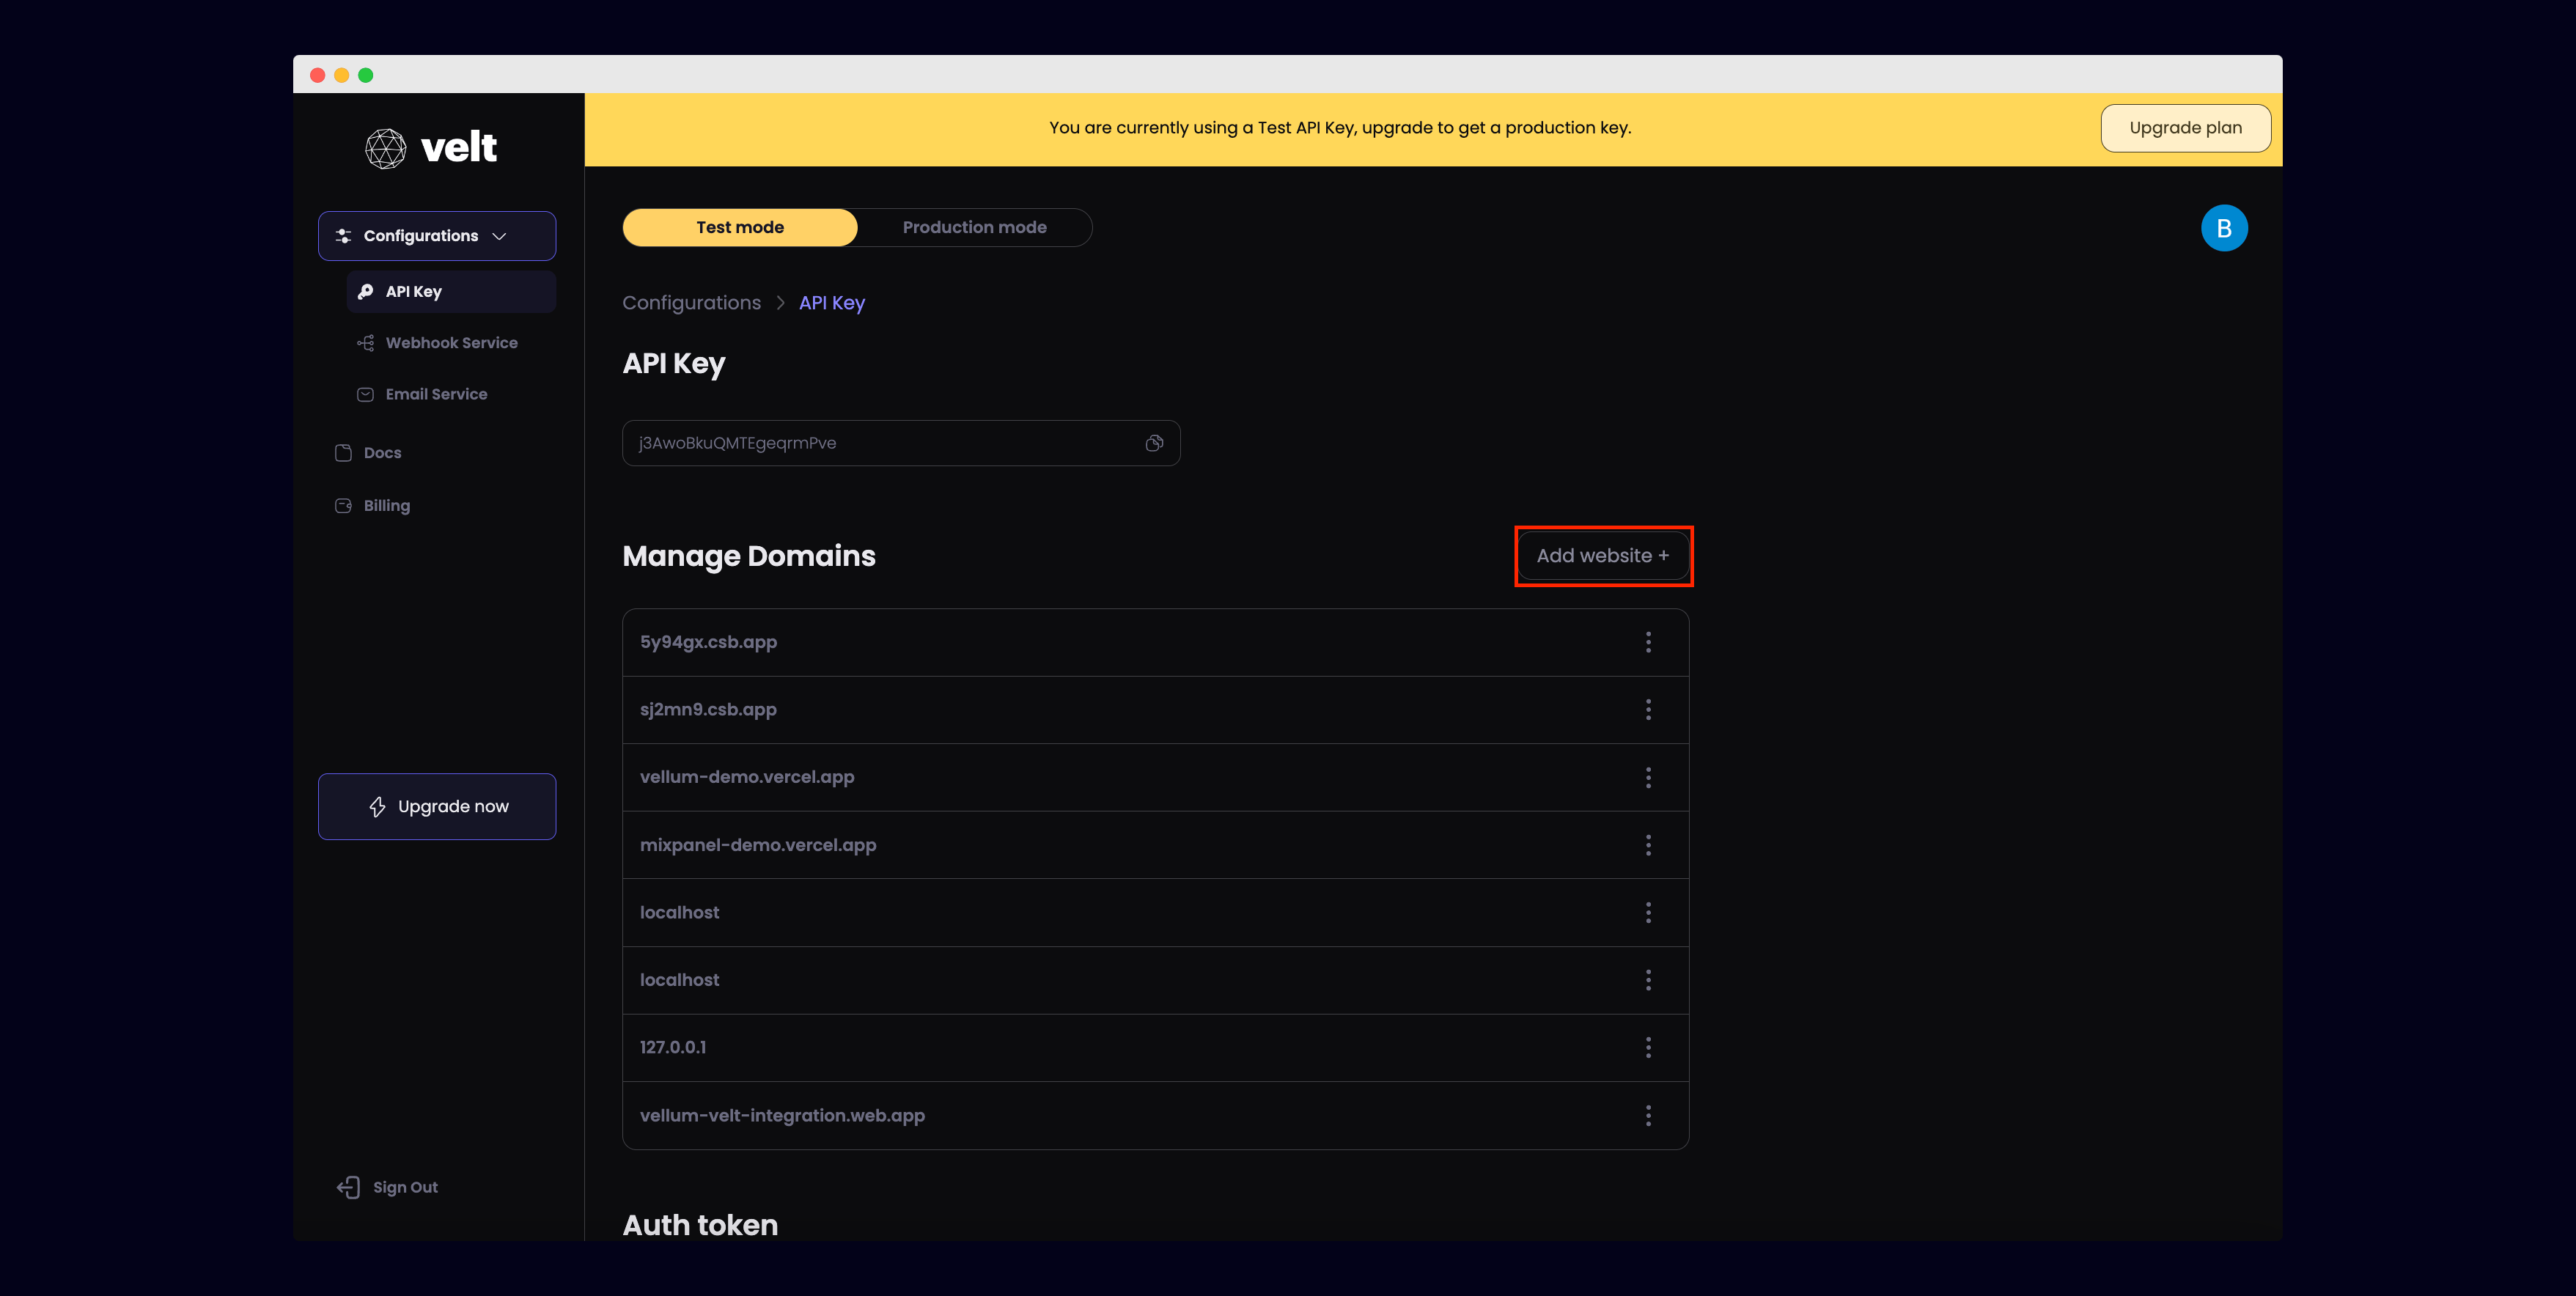
Configure the VeltProvider
In App.js, add the
VeltProvider component to the root of your app with your Velt API Key.App.js
Identify your user
In YourAuthComponent.js, use the
useIdentify() hook from the Velt SDK to identify your user.YourAuthComponent.js
Set the Document ID
In YourDocument.js, use the
useSetDocumentId() hook from the Velt SDK to set the Document ID.YourDocument.js
Add the VeltComments, VeltCommentTool and VeltPresence components
In App.js, add In YourDocument.js, add the
VeltComments to enable the Comments functionality.App.js
VeltCommentTool and VeltPresence components to test out the Comments and Presence functionality.YourDocument.js
Test out the Presence and Comments functionality
Comments
- Click the
VeltCommentToolbutton, then hover over any element on the page to leave a comment. - Click the
VeltCommentToolbutton, then try to draw a box on the page to leave a comment. - You can also highlight any text to leave a comment.
Presence
- Open two browser tabs side by side with one in Incognito mode. You should see a bubble showing the other browser’s profile avatar pop up.
Need more details on how to integrate this into an existing app?
Check out this guide on how to set up Velt with your existing app