

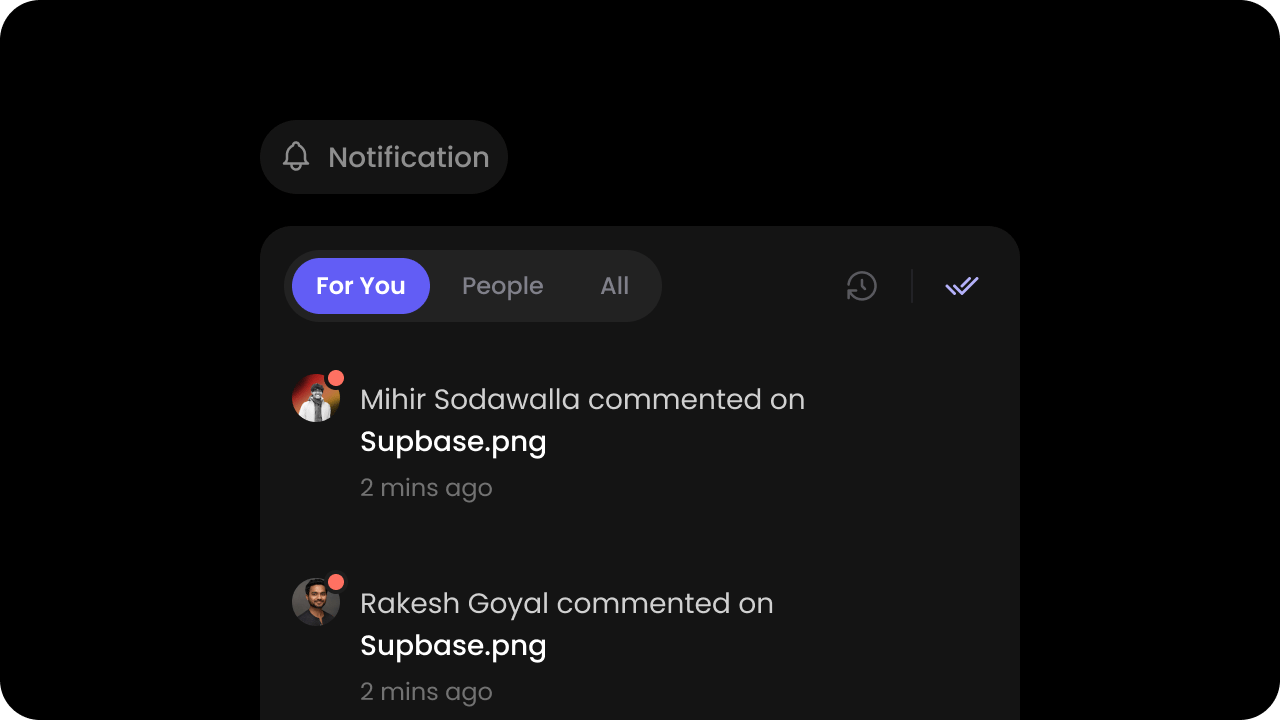
Enable Notifications in the Velt Console
- Go to the Notifications section in the Configurations section of the Velt Console and enable Notifications.
Add the Notifications Tool component
-
Place the
Velt Notifications Toolcomponent wherever you want the Notifications button to appear.
- React / Next.js
- Other Frameworks
(optional) Embed Notifications Panel
-
By default, the Velt Notifications Panel is automatically added or removed when you use the
Velt Notifications Tool. -
However, if you want to create a dedicated page or dedicated section for Notifications, you can embed the Velt Notifications Panel component directly there.
- React / Next.js
- Other Frameworks
(optional) Enable Notification Settings for Users
- By default, the user notification settings are disabled.
- You need to first enable this feature in the Velt Console.
- Then enable settings on the notifications tool or panel in the UI. Learn more
- You can then:
- Configure default settings with
setSettingsInitialConfig()API and extend it to add more channels (eg: slack, jira, asana, linear etc.) where you intend to send notifications to your users. Learn more - Update settings programmatically with
setSettings()API. Learn more - Get current settings with
getSettings()API. Learn more - Subscribe to settings updates with
settingsUpdatedevent. Learn more
- Configure default settings with
- React / Next.js
- Other Frameworks
Using Props:Using APIs:
(optional) Configure Notification Delivery
- Opt in to a delay-and-batch pipeline that holds notifications, suppresses delivery if the recipient has already seen the activity, and groups notifications into digests before sending.
- Configure Notification Service in the Velt Console under API Key notification settings. Learn more